How to Capture and Upload Photos in SurveyJS Forms
If you require your respondents to upload a photo within a form, you can turn to a traditional method that involves uploading pre-captured files. However, our new Image Capture feature offers a more user-friendly and convenient approach—capturing photos directly within a form without leaving it.
In this article, we'll explore why allowing users to take and upload images right within a form is a game-changer, discuss various use cases for image capture, and show you how to allow respondents to capture and upload photos in SurveyJS forms in just a few clicks.
Why Capture Photos in a Form?
No Hassle: Uploading files from a local device is a common method, but it's not always the most convenient one. Users must go through the process of taking a picture separately and then uploading it, often requiring additional steps and software. Adding a photo capture option to a form streamlines the process and saves time and effort.
Real-time Accuracy: When users capture and upload images in real-time, the data collected at the issue source more accurately reflects the current situation, and can help in understanding the context and severity of the issue without relying solely on written descriptions. This is particularly useful in scenarios where circumstances change rapidly, such as incident reporting, various inspections, field surveys, etc.
Reduced Errors: Uploading a pre-captured photo can lead to human errors like selecting the wrong image or misnaming files. By enabling users to capture photos right within the form, the chances of human errors are significantly reduced, improving data integrity.
Better User Experience: Forms that support the image capture are considered to offer a more straightforward approach and be more engaging, as this feature eliminates the need for users who are already interacting with a form to leave it and switch between apps or devices in order to upload a photo. This improves the overall user experience and reduces the time required to fill out a form.
Form Types that Benefit from Image Capture
Application Forms
Application processes, whether for job applications, student admissions, or permit requests, often require candidates or applicants to provide a personal photo, identification documents, or other supporting material. By allowing applicants to take and upload photos of themselves and of their documents right within a form without having to leave it, you can improve both the application process and the application review process, ensuring all necessary materials are included.Customer Support Forms
In help desk tickets, customers can capture and upload images of defective products, shipping notes, invoices, or damaged items in real time. This visual evidence simplifies issue resolution.Maintenance Requests
Facilities management teams can use image capture to document maintenance requests. Tenants or employees can take photos of issues like broken fixtures, leaking pipes, or faulty equipment, providing maintenance staff with clear visuals for quicker and more accurate responses.Restaurant Reviews
Food enthusiasts can snap photos of their meals when submitting restaurant reviews. This adds a personal touch and enhances the review's credibility.Property Inspections
Imagine you are a property inspector responsible for assessing a house's condition before a potential sale. You have a checklist of items to inspect, and in the past, you relied on written descriptions or manually uploaded photos for documentation. However, today, you have the advantage of using forms automation software like SurveyJS that supports photo capture capabilities. This ensures full transparency for both buyers and sellers.Incident Reporting
Security personnel, first responders, and safety inspectors can document incidents and accidents in real-time with image capture. This provides essential context for investigations and regulatory compliance.
How to enable and set up image capture in SurveyJS forms
Follow the steps below to enable and configure image capture in your SurveyJS form:
- Add a File Upload question to your form.
- Specify a question title and description.
- Allow users to take and upload photos.
- Specify a placeholder text.
- Restrict accepted file types.
- Allow users to upload multiple files.
- Manage image previews.
- Restrict the size of uploaded files.
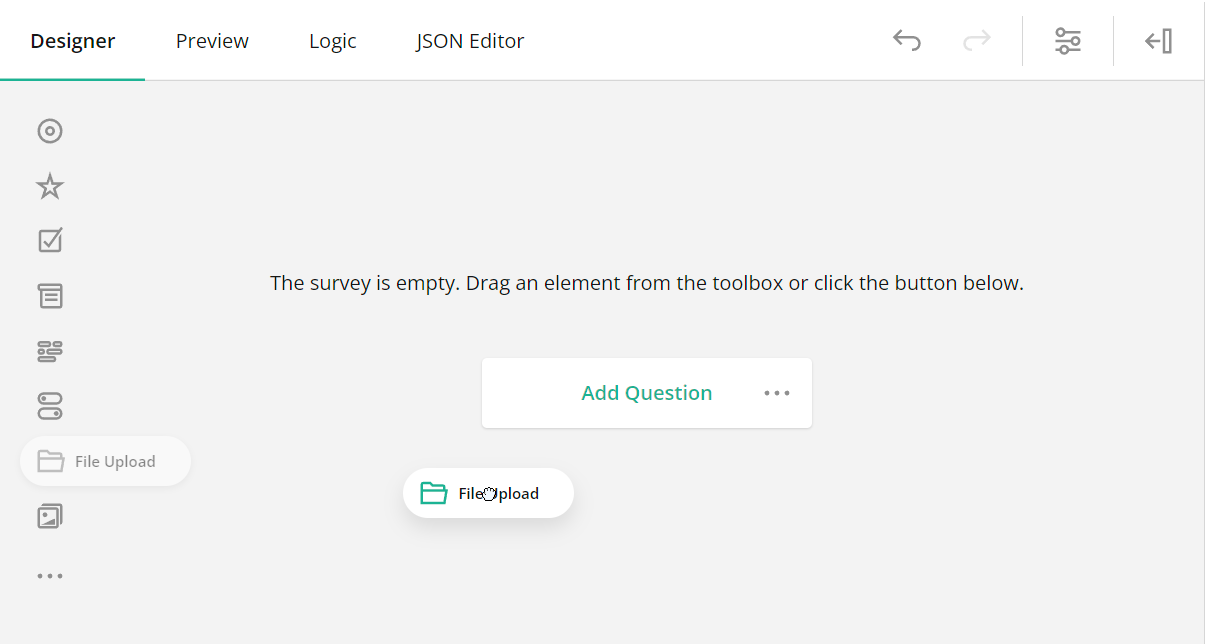
Add a File Upload question to your form
In SurveyJS Creator, drag a File Upload question to the design surface or simply click the Add Question button and change the question type to File Upload using the on-question drop-down menu.
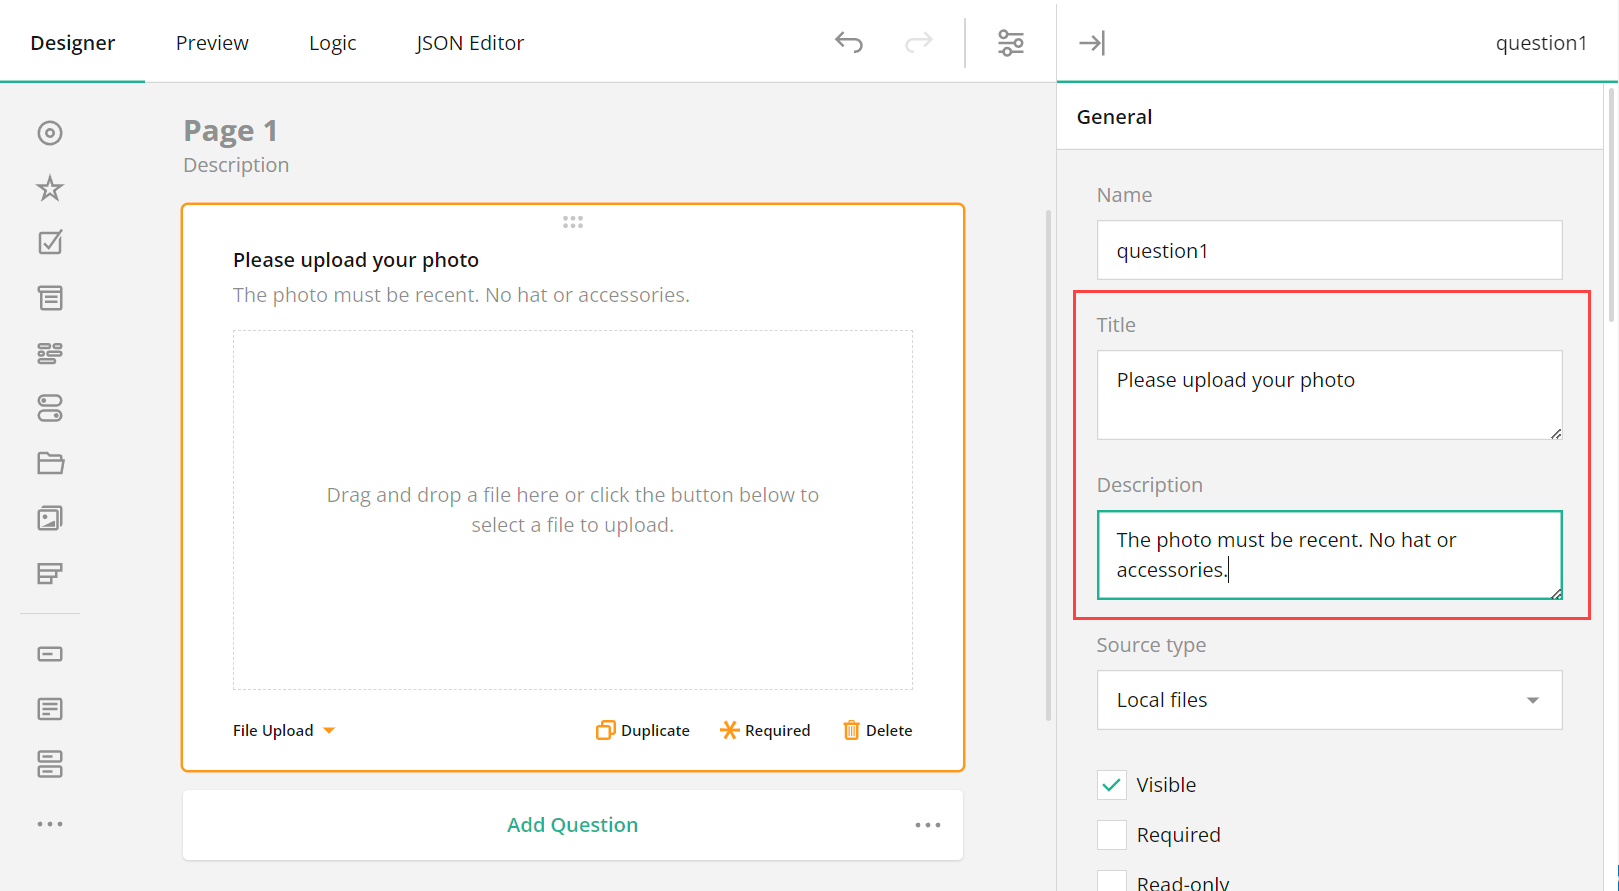
Specify a question title and description
Under the General tab in the Property Grid, assign a question title and add any photo requirements you want your users to follow as a description. You can also do that on the design surface by typing the title and instructions in the question title and description areas respectively.
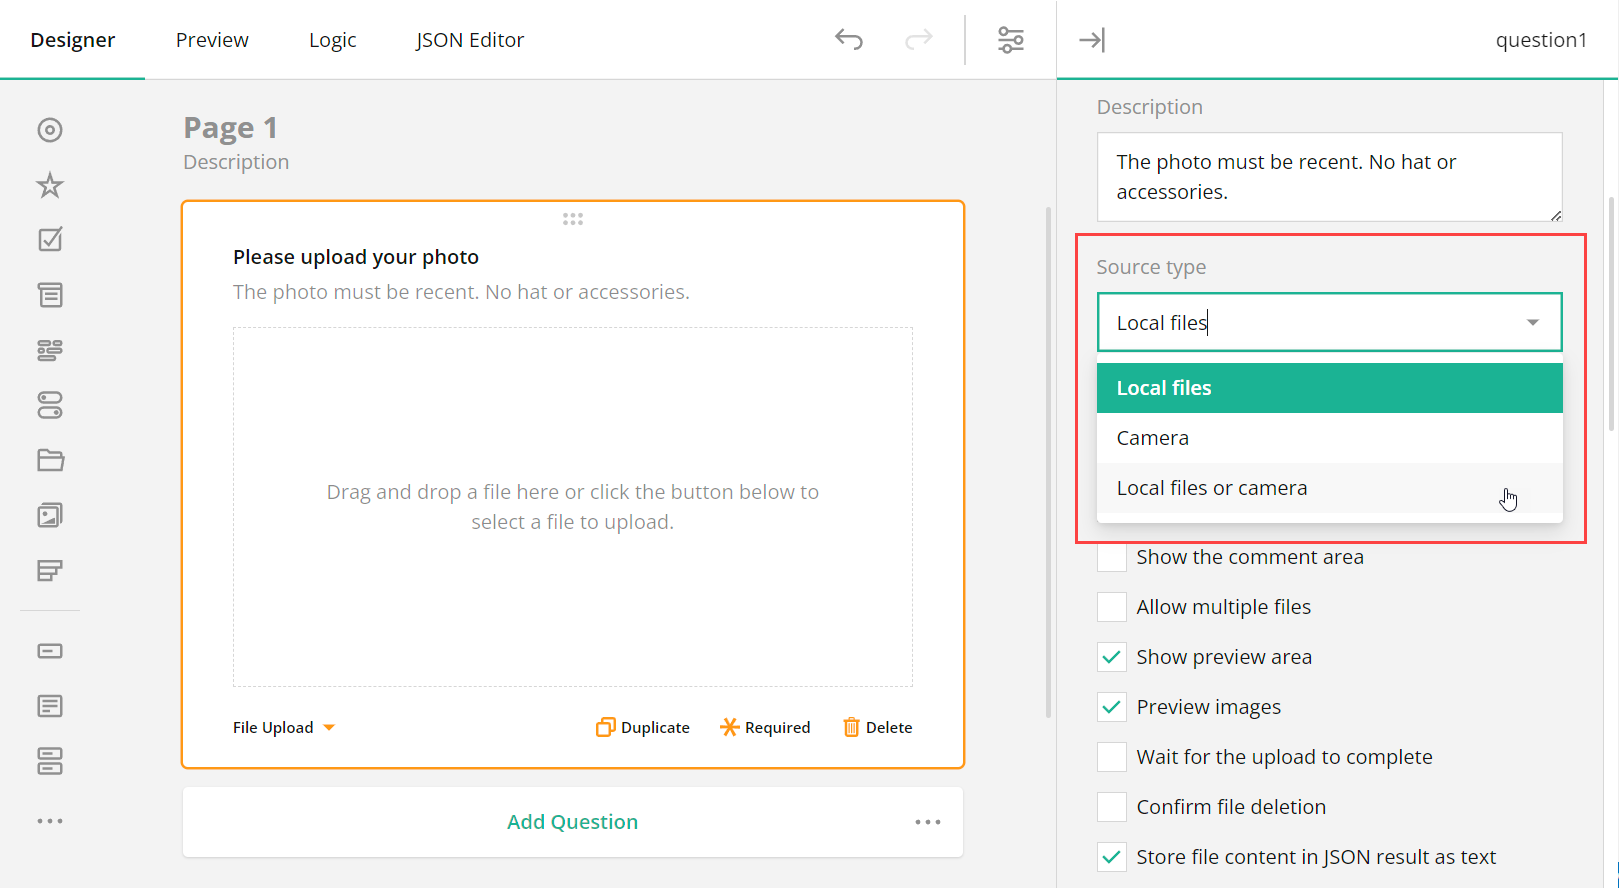
Allow users to take and upload photos
Open the Source type drop-down menu and select one of the following options:
Local files
Allows a respondent to browse and upload a pre-captured file from their computer.Camera
Allows a respondent to capture and upload a photo within a form without leaving it.Local files or camera
Allows a respondent to use either or both of the two options at the same time.
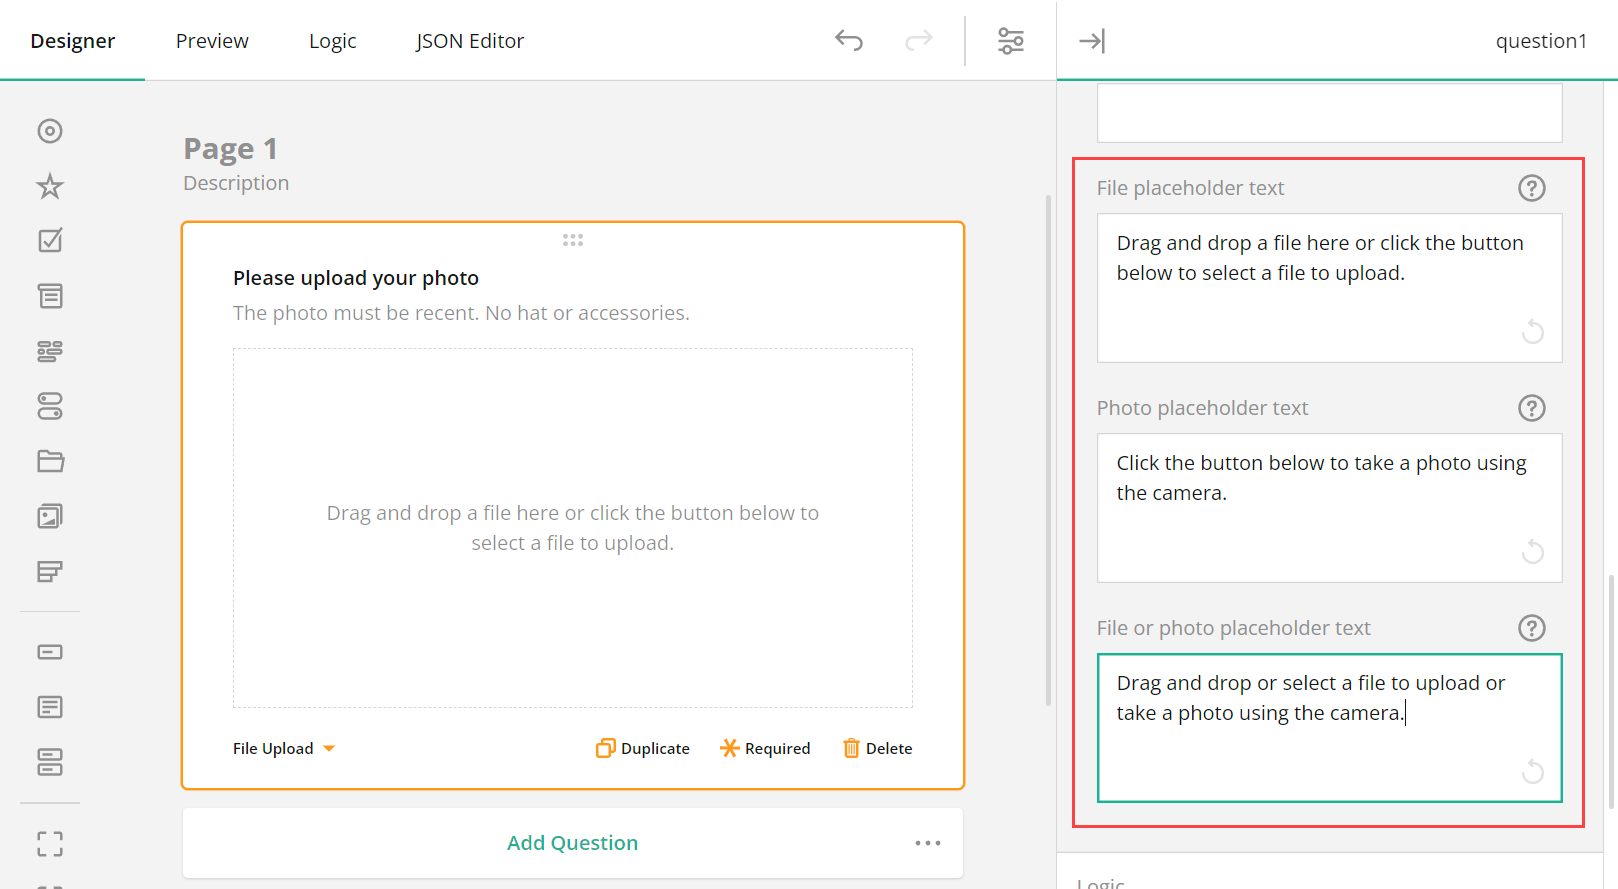
Specify a placeholder text
Depending on the file source type you select, you can also add the placeholder text using the following dedicated input fields:
- File placeholder
- Photo placeholder
- File or photo placeholder
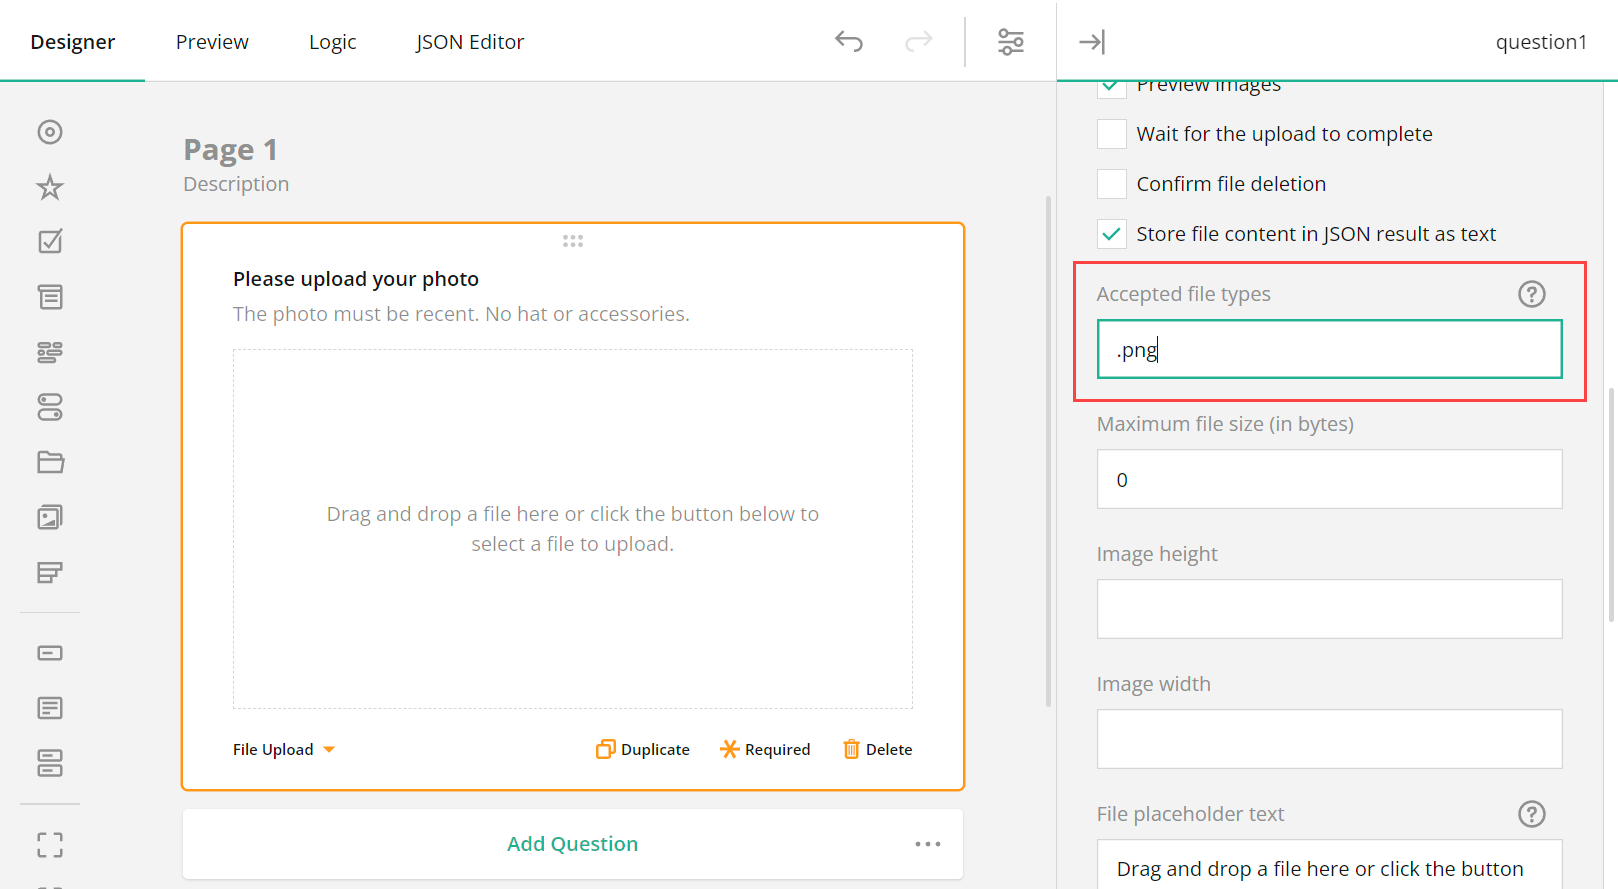
Restrict accepted file types
If you want to restrict the allowed format for uploaded files to the one you prefer, for example to .png, type it in the Accepted file types box, as shown below.
Allow users to upload multiple files
If you require users to take and/or upload multiple files and images within a single form, enable the Allow multiple files option. Once enabled, users will be able to manage files and take multiple images in the same place using file upload, deletion, and camera icons.
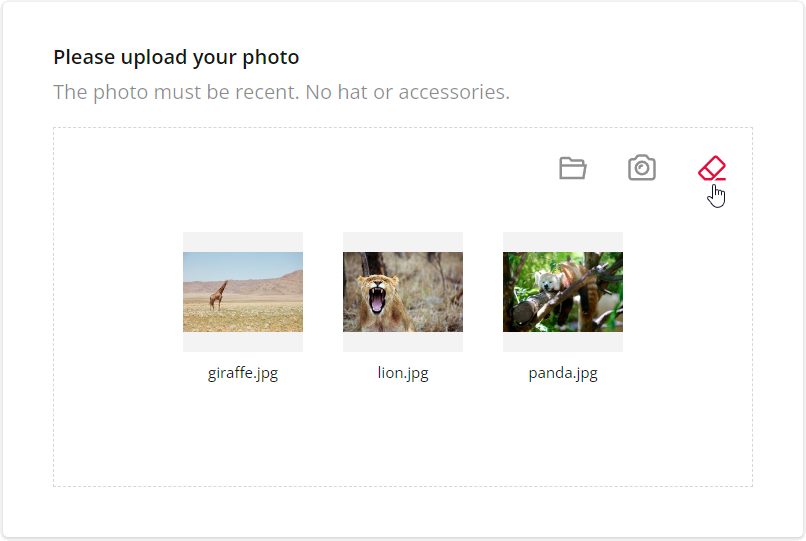
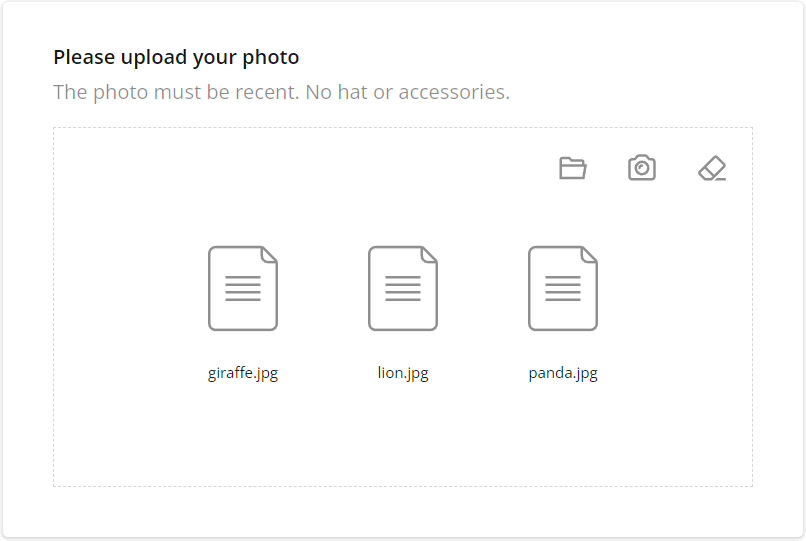
Manage image previews
The Preview images option (enabled by default) displays thumbnail previews of uploaded files, both pre-captured and taken within a form. You can disable it if you want to display a generic file icon instead of file previews.
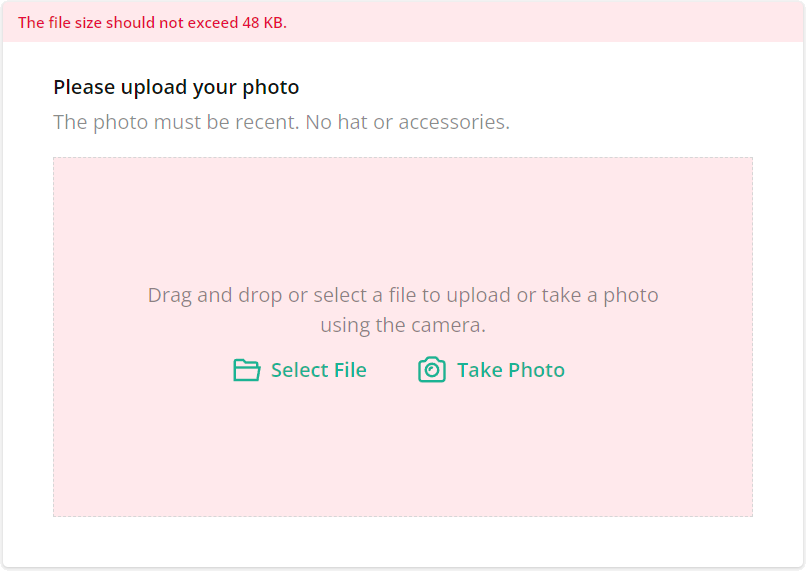
Restrict the size of uploaded files
To limit the size of each uploaded file, set the desired value in bytes in the Maximum file size property. You can also add a custom error text helping respondents to quickly fix the size issue and upload a different file.
There are many more useful properties of the File Upload question that you can learn about in the following article: SurveyJS: a self-hosted alternative to Google Forms that has it all (Part 2).
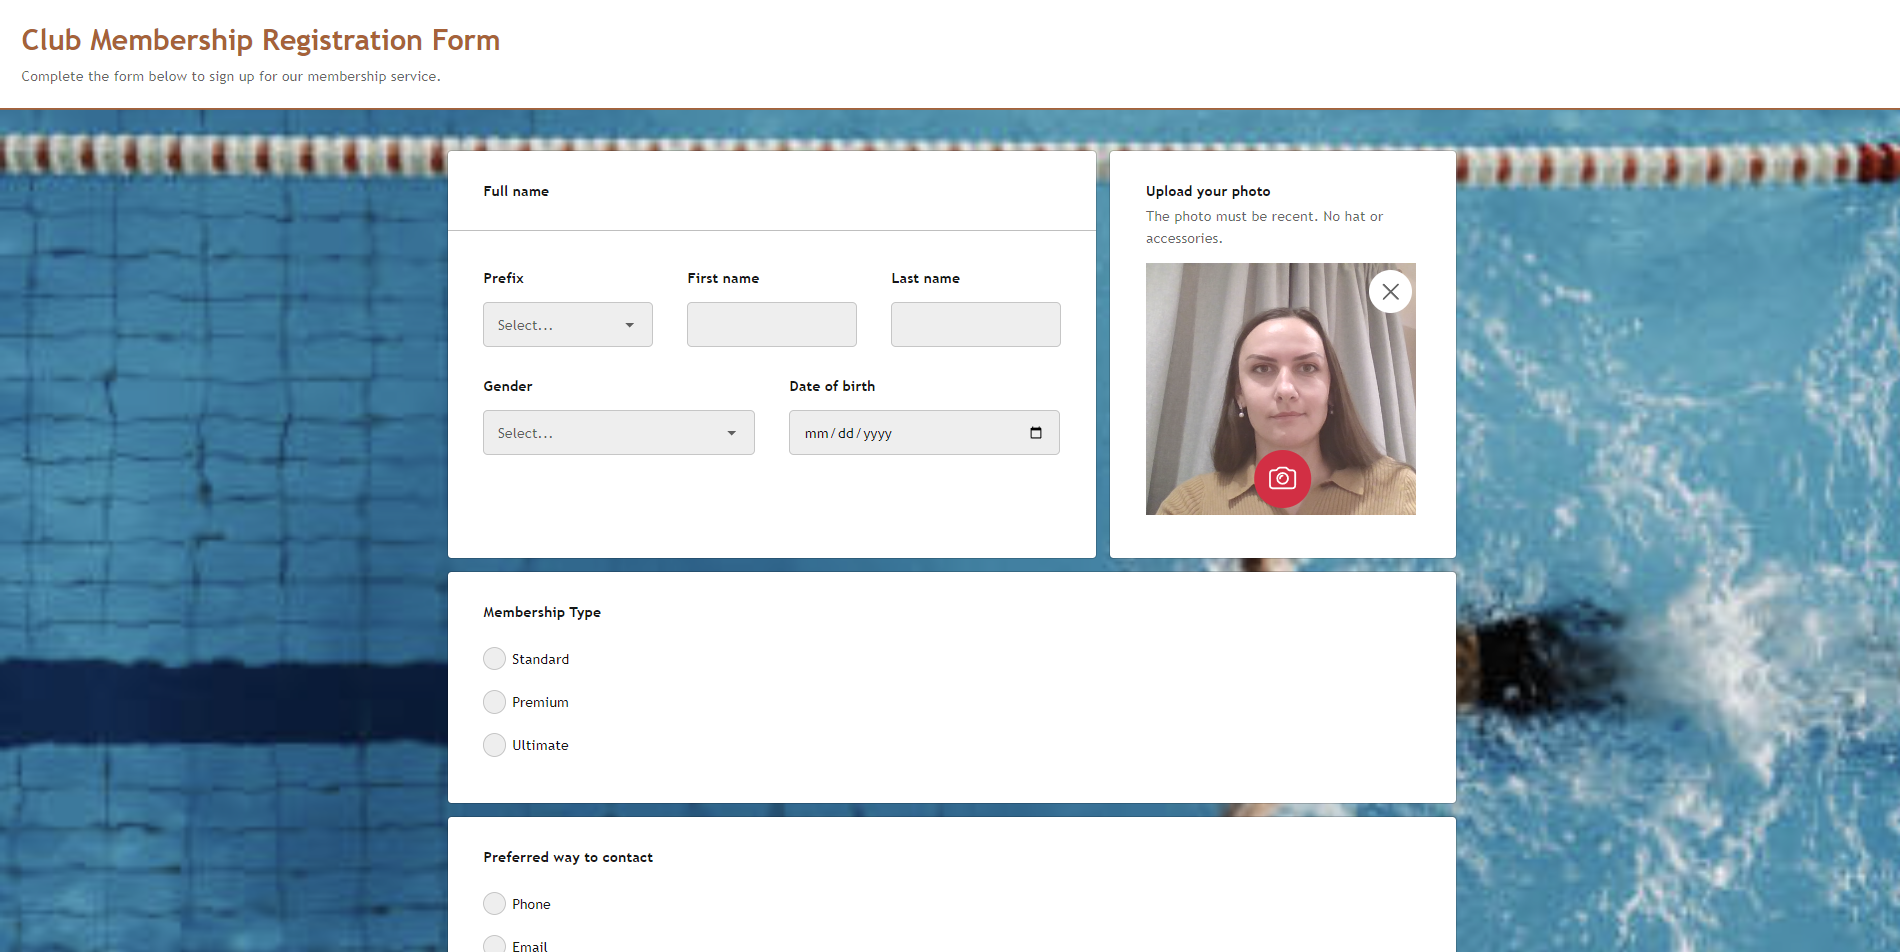
Take and Upload Photos
Open your SurveyJS form, click the Take Photo button, tap the red camera icon to take a photo, and you’re done! If you are filling out a form using a mobile device, you can also use a flip icon to switch between the front and rear cameras.
Conclusion
SurveyJS image capture feature in forms provides an efficient and user-friendly way to collect data with photos. It enhances convenience, accuracy, and user experience, making it a valuable tool across various industries and applications.