How to Apply Input Masks to Single-Line Text Fields
About Input Masking
Input masking is a technique used to help respondents enter information into a form in a specific way. Imagine you need to ask your respondents for their phone numbers. Instead of just typing in their number freely as a bunch of unordered digits, respondents receive clear guidelines on how to enter it in a certain format, such as +1 (123) 456-7890.
Input masking can be really helpful in reducing errors and ensuring that the form data you receive is consistent and easy to process.
Mask Types
Input masks serve as templates that show respondents exactly how to enter their information, making sure input fields only accept data in certain predefined formats. In SurveyJS Form Builder, the following input mask types are available:
Pattern
Allows you to define a custom pattern using characters and symbols, ensuring that respondents enter data according to your specified format. For example, you can create a pattern for credit card numbers, such as 1234 4567 7891 1234.Date and Time
Guides respondents to enter dates and times in a specific format, such asmm/dd/yyyyfor dates andHH:MMfor times. This helps ensure consistency and accuracy in date and time entries.Numeric
Restricts input to numerical values only, allowing respondents to enter numbers without any additional characters. This is useful for collecting data like age, quantity, or measurements.Currency
Formats input fields to accept currency values. This mask type allows symbols, such as commas separating thousands or dollar signs to represent monetary amounts, helping respondents enter monetary values consistently and accurately.
Question types that support input masking
In SurveyJS Form Builder, you can apply masks to single-line fields available in the following question types:
- Single-Line Input
- Multiple Textboxes
- Multi-Select Matrix (as a cell type)
- Dynamic Matrix (as a cell type)
How to Apply Masks
Single-Line Input
To mask an entry of a Single-Line Input question, follow the steps below:
- Select a Single-Line Input question to which you wish to apply an input mask.
- Under General, locate the Input type property and make sure it's set to its default Text.
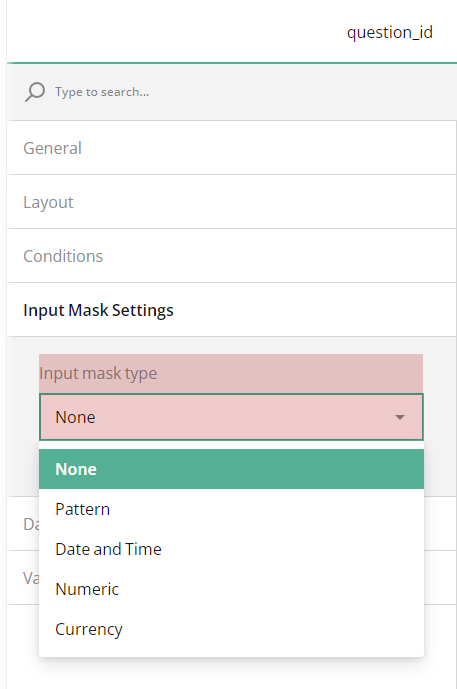
- Under Input Mask Settings, locate the Input mask type property.
- In the drop-down menu, select among the available mask types.
Multiple Textboxes
By default, a Multiple Textboxes question consists of two single-line fields. To apply an input mask to an individual single-line field in a Multiple Textboxes question, follow these steps:
Select a Multiple Textboxes question. This action will display the question settings in the Property Grid.
Under Items, locate the field whose input you wish to mask.
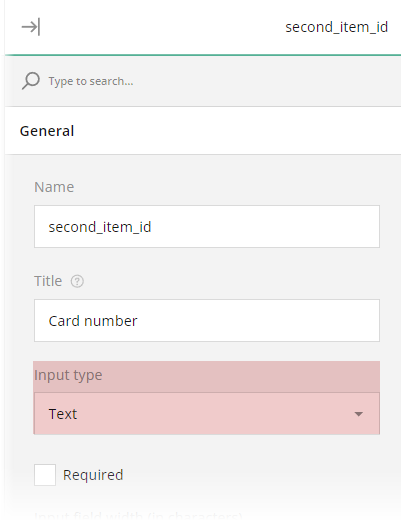
Click the Pen icon on the right of the input field title to expand the field's settings.
Locate the Input type property and make sure it's set to its default Text option.
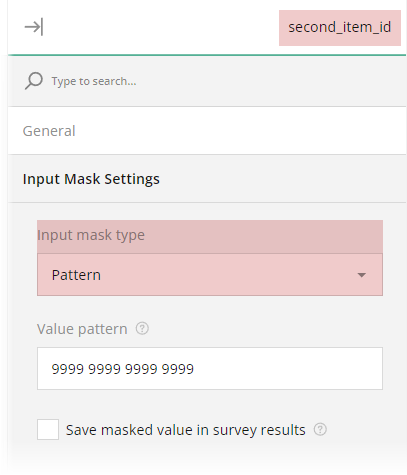
Under Input Mask Settings, locate the Input mask type property.
In the drop-down menu, select among the available input types.
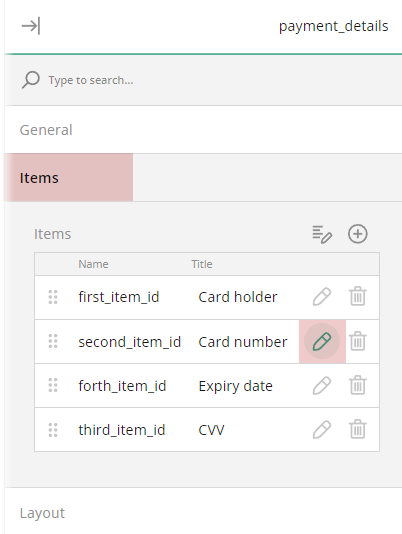
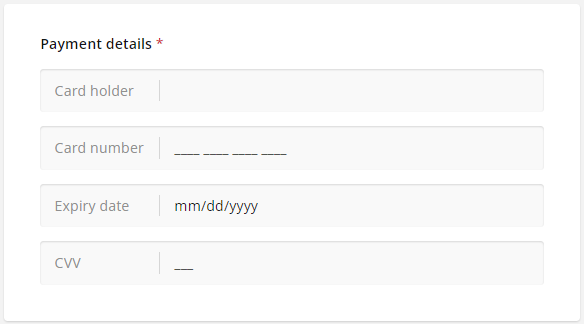
The image bellow illustrates a Multiple Textboxes question with four masked text fields for collecting payment details.
Multi-Select Matrix
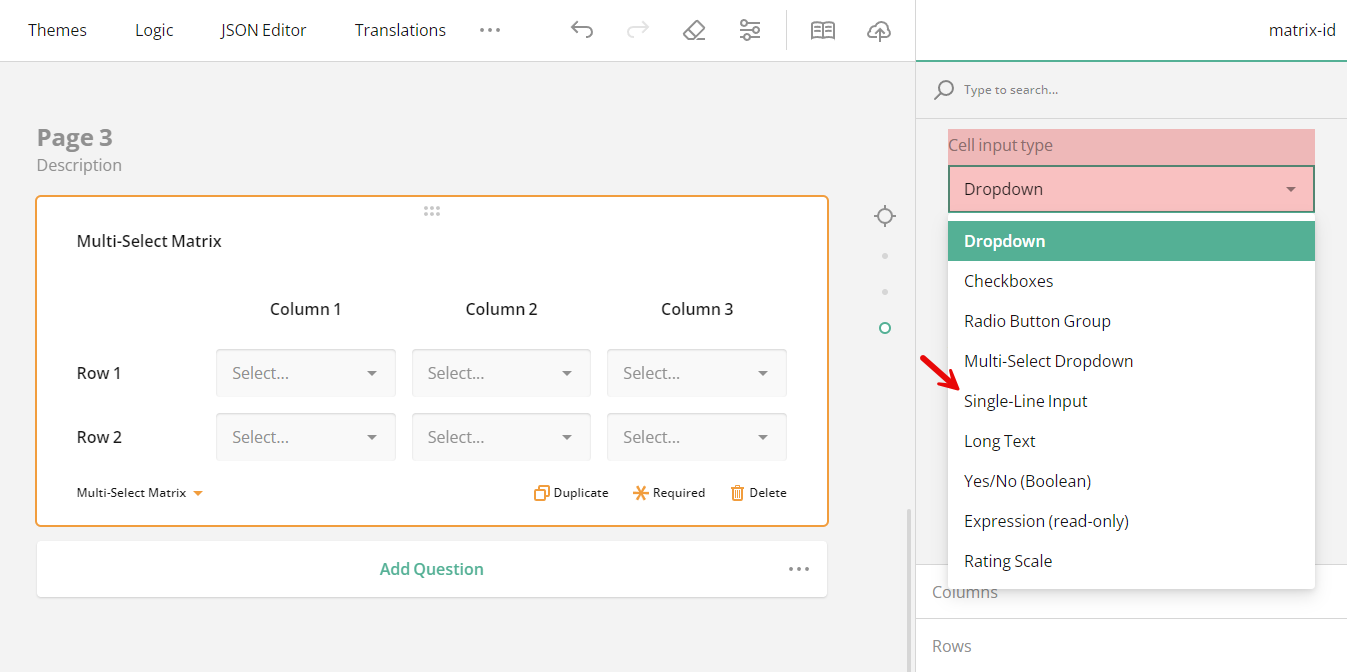
A Multi-Select Matrix allows you to set Cell input types for all cells of a matrix table or for cells of a particular matrix column. By default, when a new Multi-Select Matrix is added to a form, all cells have the Dropdown type. To make input mask settings available in the Property Grid, Cell input type for all cells of a matrix table or for cells of a particular matrix column has to be set to Single-Line Input.
To change Cell input type for all cells of a matrix table to Single-Line Input, follow these steps:
- Select a Multi-Select Matrix question. This action will display the question settings in the Property Grid.
- Under General, locate the Cell input type property.
- In the drop-down menu, select Single-Line Input.
If you wish to apply different cell input types to different matrix columns, change Cell input type for individual columns as follows:
Select a Multi-Select Matrix question. This action will display the question settings in the Property Grid.
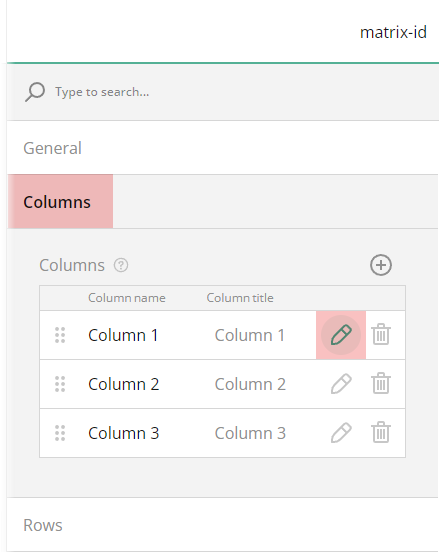
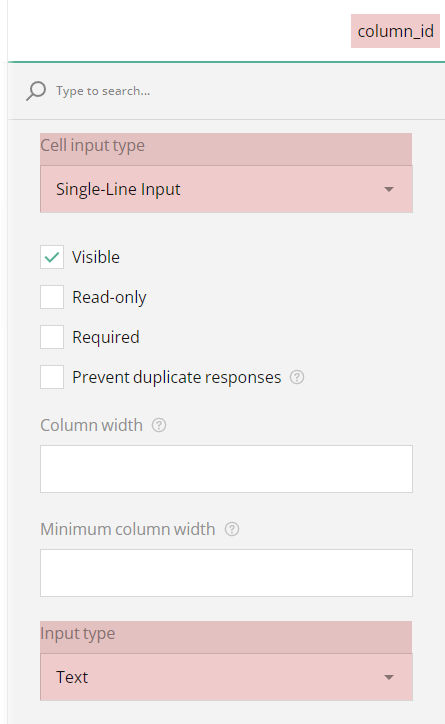
Under Columns, select the column to whose cells you wish to apply a mask.
Click the Pen icon on the right of the column title. This action will display the column settings in the Property Grid.
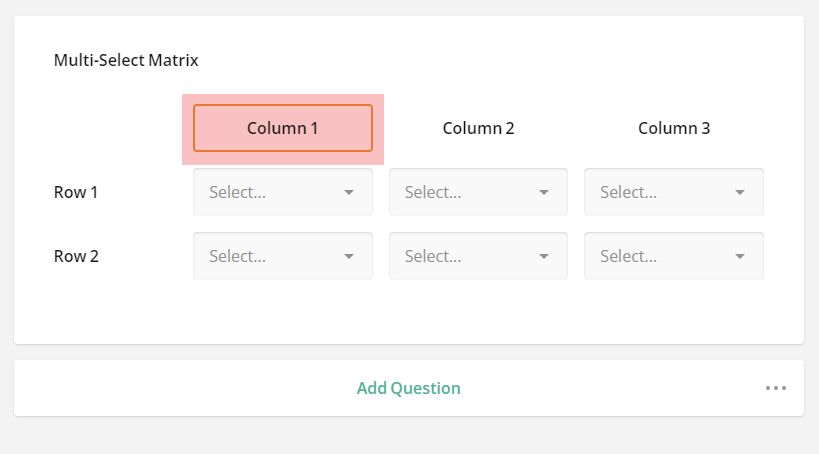
Another way to display the column settings in the Property Grid is by clicking the area around the column title on the design surface.
Under General, locate the Cell input type property. By default, it is set to Default, which means that it inherits Cell input type set for the entire matrix table.
In the drop-down menu, select Single-Line Input.
Locate the Input type property and make sure it's set to its default Text option.
Now that the Cell input type is set to Single-Line Input, you can apply input masks to cells of such a column:
- Under Input Mask Settings, locate the Input mask type property.
- In the drop-down menu, select among the available mask types.
A cell input type set for a column overrides the same setting defined for all cells within a multi-select matrix table.
To apply input masks to column cells within a Dynamic Matrix, follow the same instructions as for the Multi-Select Matrix.