Feedback Form
A feedback form is used by companies and organizations to collect opinion and comments from customers regarding a particular product, service, or experience. The collected feedback can then be used to improve service levels or increase the product quality. This demo shows how to create and style a restaurant feedback form using SurveyJS Survey Creator with an integrated Theme Editor.
Enable Panelless View
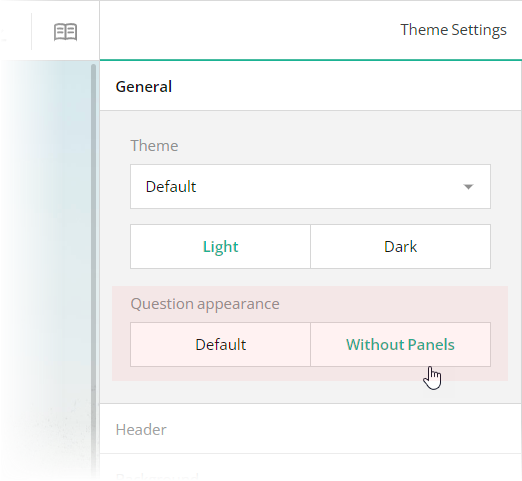
Form fields can be framed by panels or displayed without them. This demo uses the panelless view. To enable it in Theme Editor, switch the General > Question appearance editor to "Without Panels". This editor is mapped to the isPanelless property in the theme JSON configuration (see the theme.js file).
Configure the Form Header
A form header usually consists of a form title, short description, and a logo of your company. It can also display a background image different from the background image of the rest of the form. This section describes how to configure these features.
Add a Form Title, Description, and Logo
You can specify a form title and description in the Designer tab of Survey Creator. Enter title and description texts in the Survey title and Survey description editors in the General category.
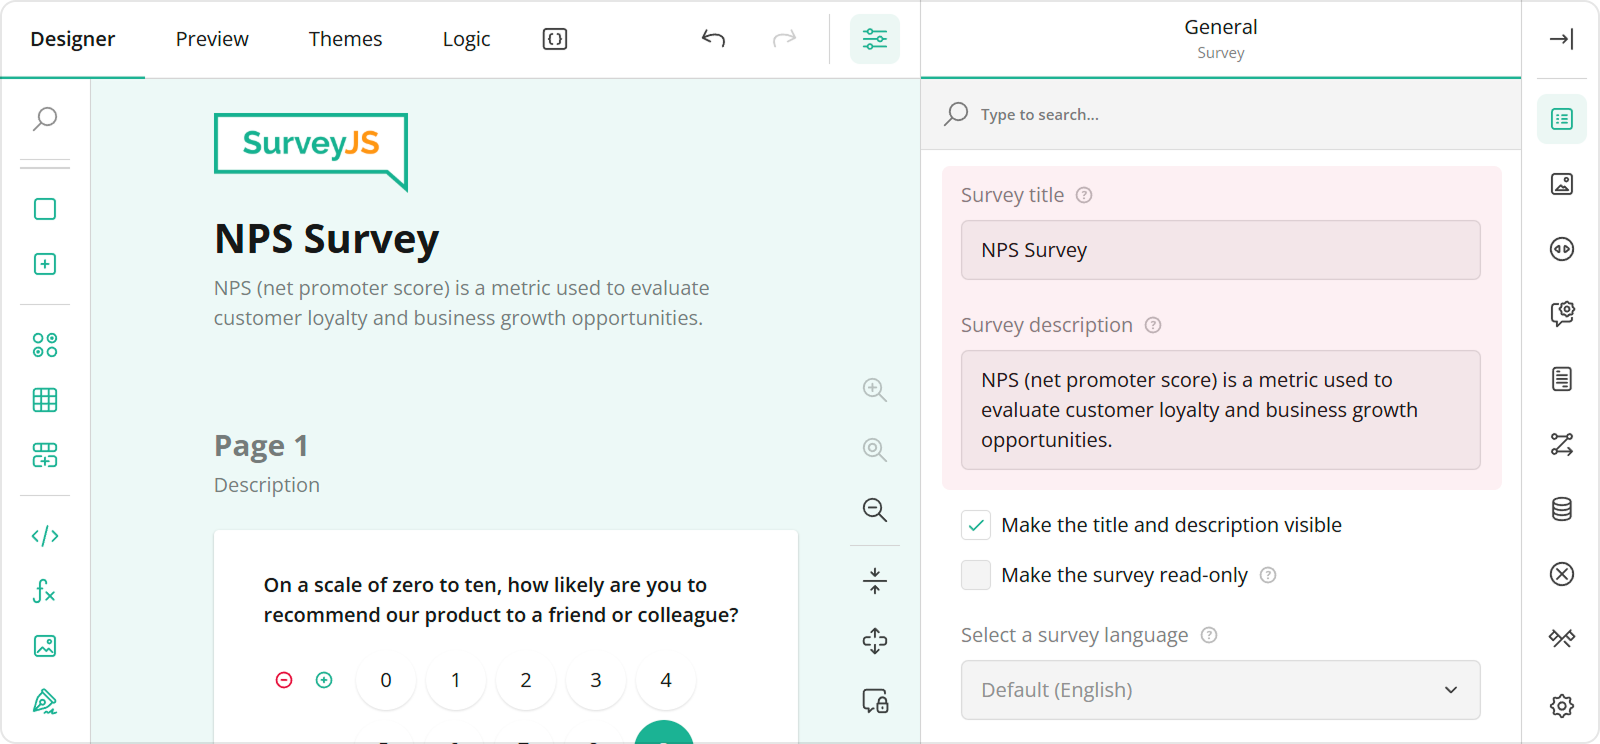
To configure a logo, use editors in the Logo in the Survey Header category.
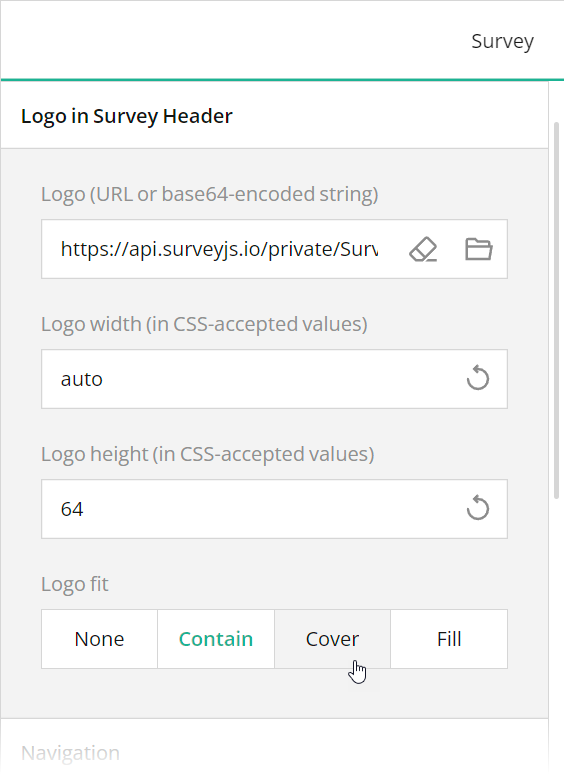
These editors are mapped to the following survey JSON properties:
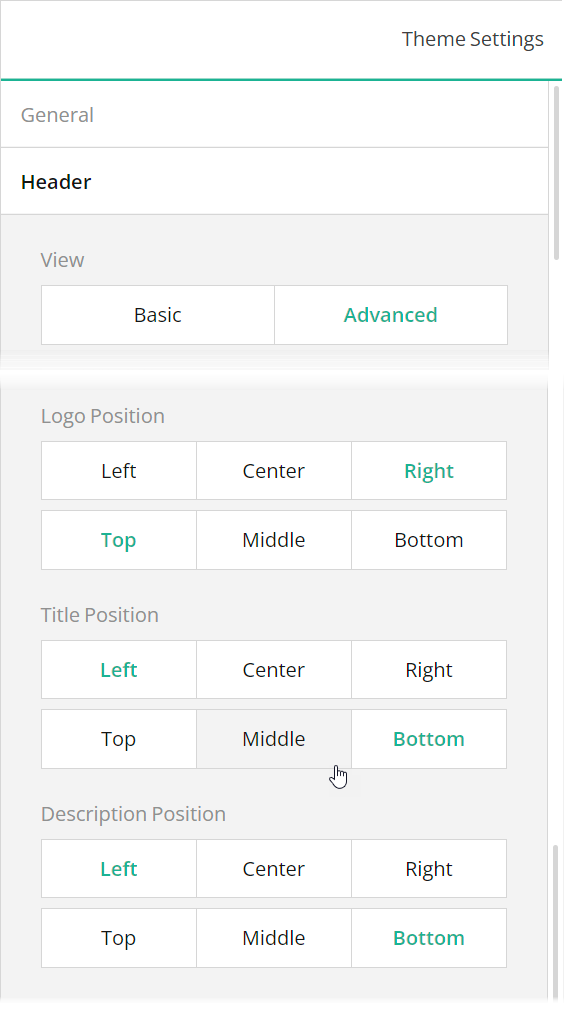
To position a title and description within a form header, use Theme Editor integrated in Survey Creator. Open the Themes tab, switch to the Header category in Property Grid, and use the Logo alignment, Survey title alignment, and Survey description alignment editors to align these elements as required. Ensure that the View switch is set to "Advanced".
Add a Background Image to the Form Header
A form header can display a background image that gives your form a more professional look. To add a background image using Theme Editor, open the Header category in Property Grid, switch the View editor to "Advanced", and use the Background image editors.
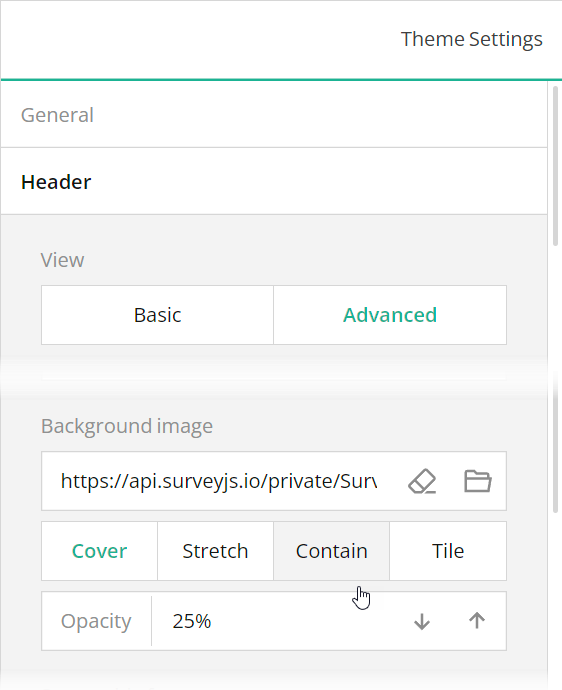
The Background image editors are mapped to the following properties in the theme JSON schema (see the theme.js file):
Add Rating Scale Controls
A feedback form usually asks a respondent to evaluate or rate a particular characteristic of a product or service on a predefined scale. If your feedback form includes only one or two such characteristic, you can use standalone Rating Scale survey elements. This demo shows how to organize multiple rating controls in a neat UI using Multi-Select Matrix elements.
To implement this UI, add a panel to your form and add Multi-Select Matrices to that panel. Distribute all characteristics for evaluation between these matrices and add as many rows to each matrix as there are characteristics for it. For instance, in this demo, six characteristics are split between two matrices.
Each matrix should contain only one column of the Rating Scale type. Set the column's cellType property to "rating" or change the column's Cell input type editor to Rating Scale in Survey Creator. A matrix should also have an inverted layout (columns displayed as rows, and vice versa) in order to add a header to each rating control. Enable the transposeData property or select the Layout > Transpose rows to columns editor in Survey Creator. Refer to the "food-ratings" and "venue-ratings" matrices in the survey.json file for code examples.